

What Strata Councils and Commercial Properties in Kamloops Should Expect From a Landscaper
June 23rd 2026
A commercial or strata property needs a landscaper who shows up and answers the phone. Look Out Landscaping has done both in Kamloops since 1993.Read More
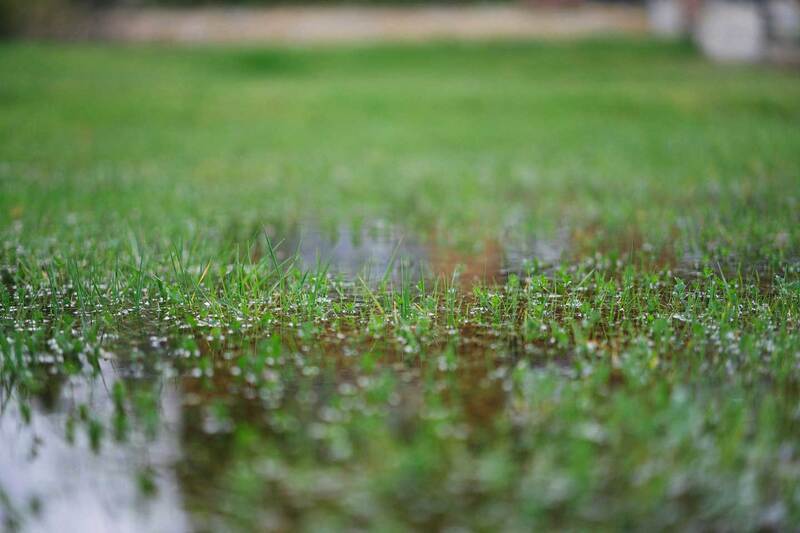
If the Same Spot Floods Every Spring, It's Not a Rain Problem
May 26th 2026
The same wet spot every spring isn't a rain problem. It's a drainage problem. Here's what's actually going on in Kamloops yards and how to fix it properly.Read More
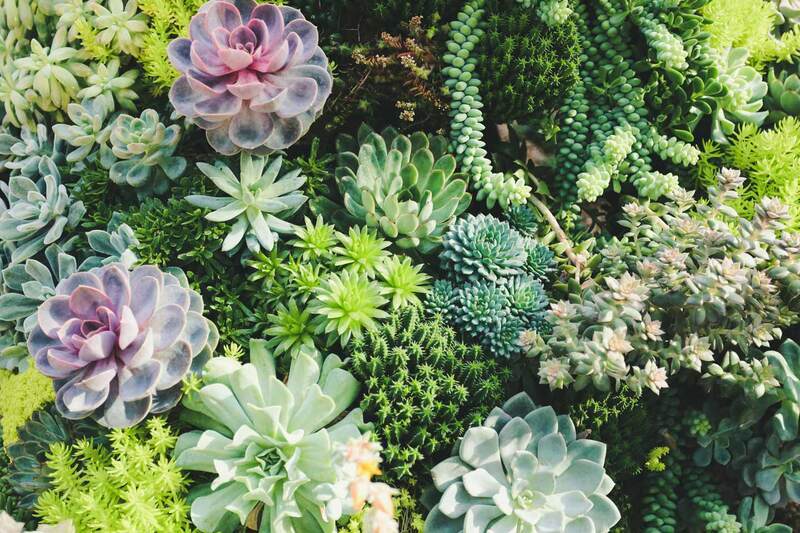
Your Lawn Wasn't Built for Kamloops Summers. Your Yard Can Be.
April 27th 2026
Xeriscape is one of the smartest yard fixes for Kamloops summers. Less water, less work, and a yard that holds up in July. Learn what a real xeriscape looks like.Read More
Stop Reseeding. Start Renovating. A Straight-Talk Guide for Kamloops Homeowners.
April 7th 2026
If you're reseeding the same spots and dealing with the same drainage issues year after year, the problem isn't your effort — it's what's happening underneath. Here's how to tell when patching stops working and a proper fix makes more sense.Read More
From Winter Clues to Spring Decisions: Planning Your Landscape the Right Way in Kamloops
February 24th 2026
Early spring in Kamloops is assessment season. Learn how to identify winter damage, separate recovery from real drainage or grading issues, and plan lawn care, irrigation, and yard improvements in the right order for lasting results.Read More
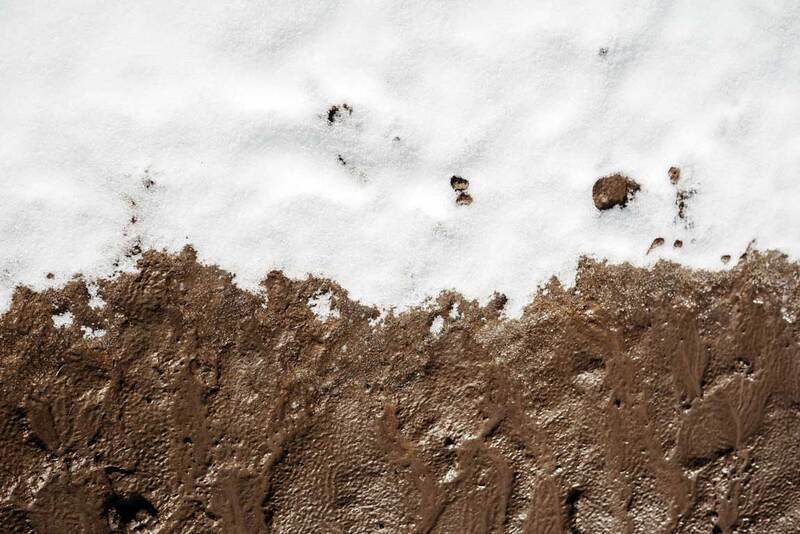
Muddy Yards, Standing Water, and Dead Grass: What Kamloops Winters Reveal About Your Landscape
January 14th 2026
January is like a report card for your yard, showing exactly where water collects, soil struggles, and grass is under stress.Read More
Winter Snow Removal and Ice Management Services in Kamloops
December 11th 2025
Reliable snow removal and ice management services in Kamloops. Keep your property safe, clear, and accessible all winter with Look Out Landscaping.Read More
Autumn Alert: Book Your Sprinkler Blowouts Now
September 12th 2025
Sprinkler blowouts in Kamloops made easy. Prevent frozen pipes and costly damage—schedule your service before the first deep freeze.Read More
Lawn Care Calendar for Kamloops: What to Do Each Month
August 7th 2025
Wondering when to mow, water, or fertilize in Kamloops? Use our expert month-by-month guide—or let Look Out Landscaping do the grass cutting and lawn maintenance for you.Read More
4 Lawn Watering Tips for Kamloops Lawn Care
July 11th 2025
From watering schedules to irrigation systems, find out how to care for your Kamloops lawn all summer long with practical, eco-friendly tips.Read More
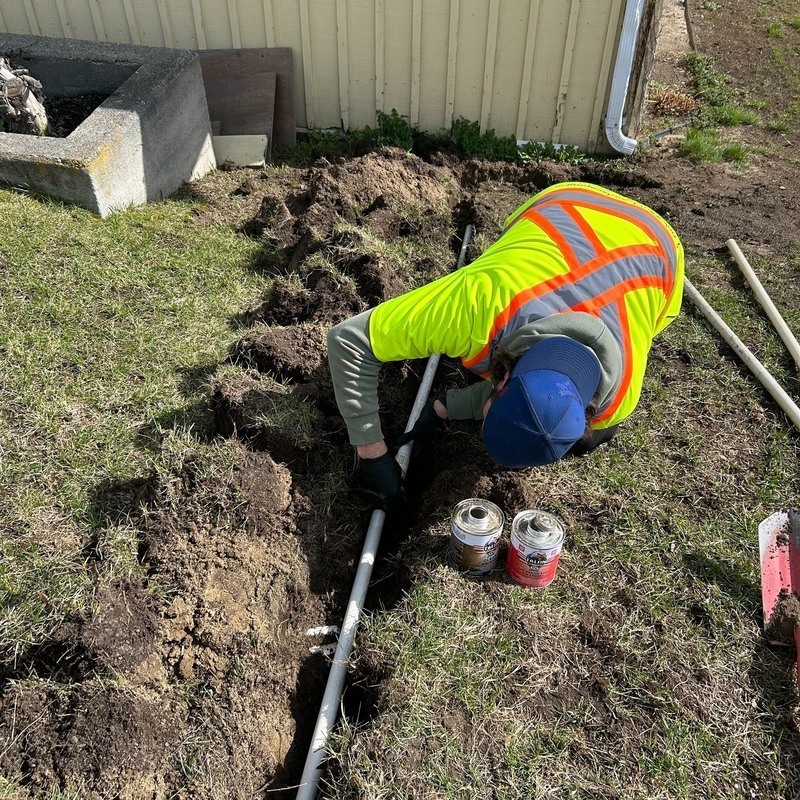
How Long Does Irrigation Installation Take?
July 3rd 2025
Plan your irrigation project with confidence. See what affects installation time and contact us for a personalized estimate in Kamloops.Read More
What to Expect During a Professional Irrigation System Installation in Kamloops
May 14th 2025
Explore the full process of installing a custom irrigation system in Kamloops. Smart, efficient, and built for local climates.Read More